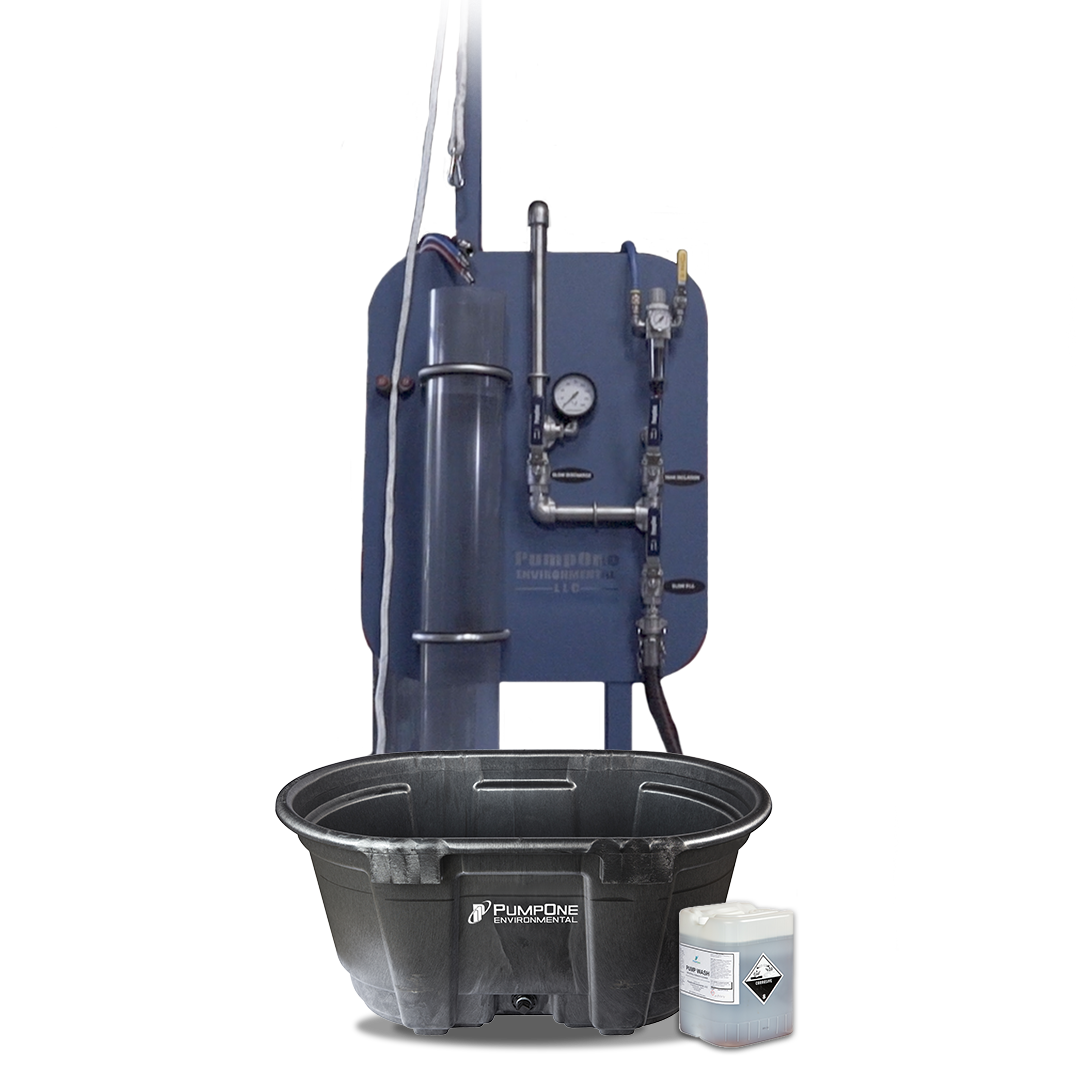
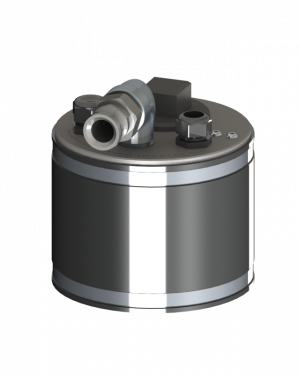
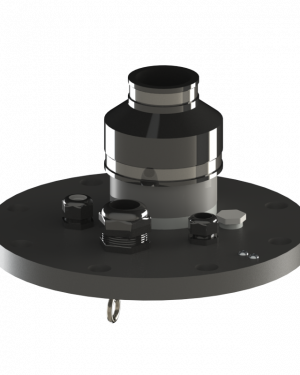
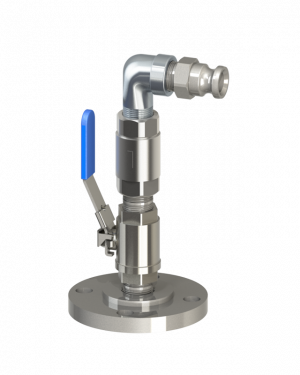
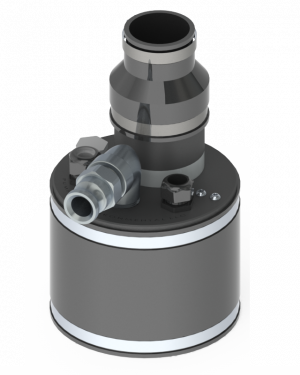
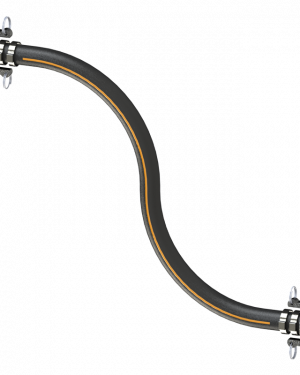
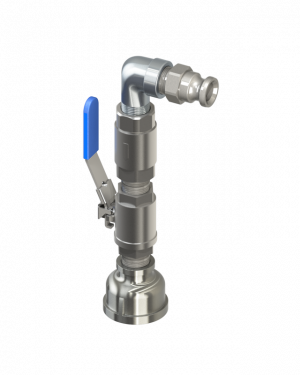
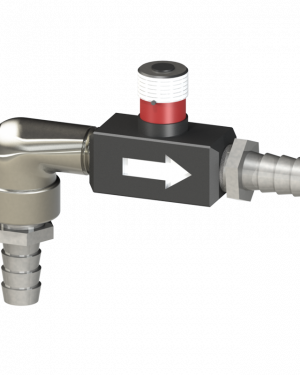
Field Test Station Benefits
- Head pressure simulation tests keeps your pumps performing at maximum efficiency
- Slow fill simulation test
- You can test for leaks on site
- The PumpOne Pump Wash and Soaking Vat are included
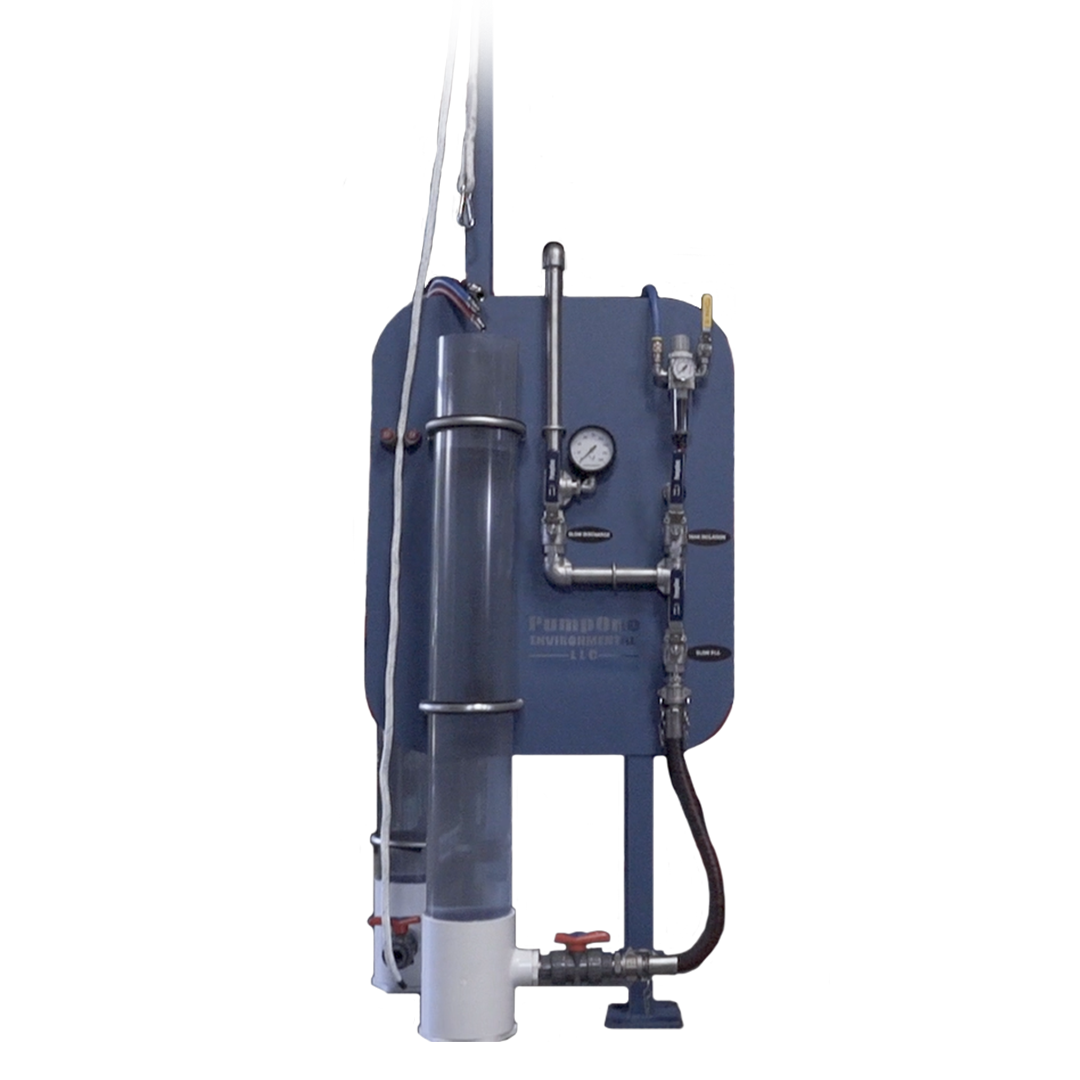
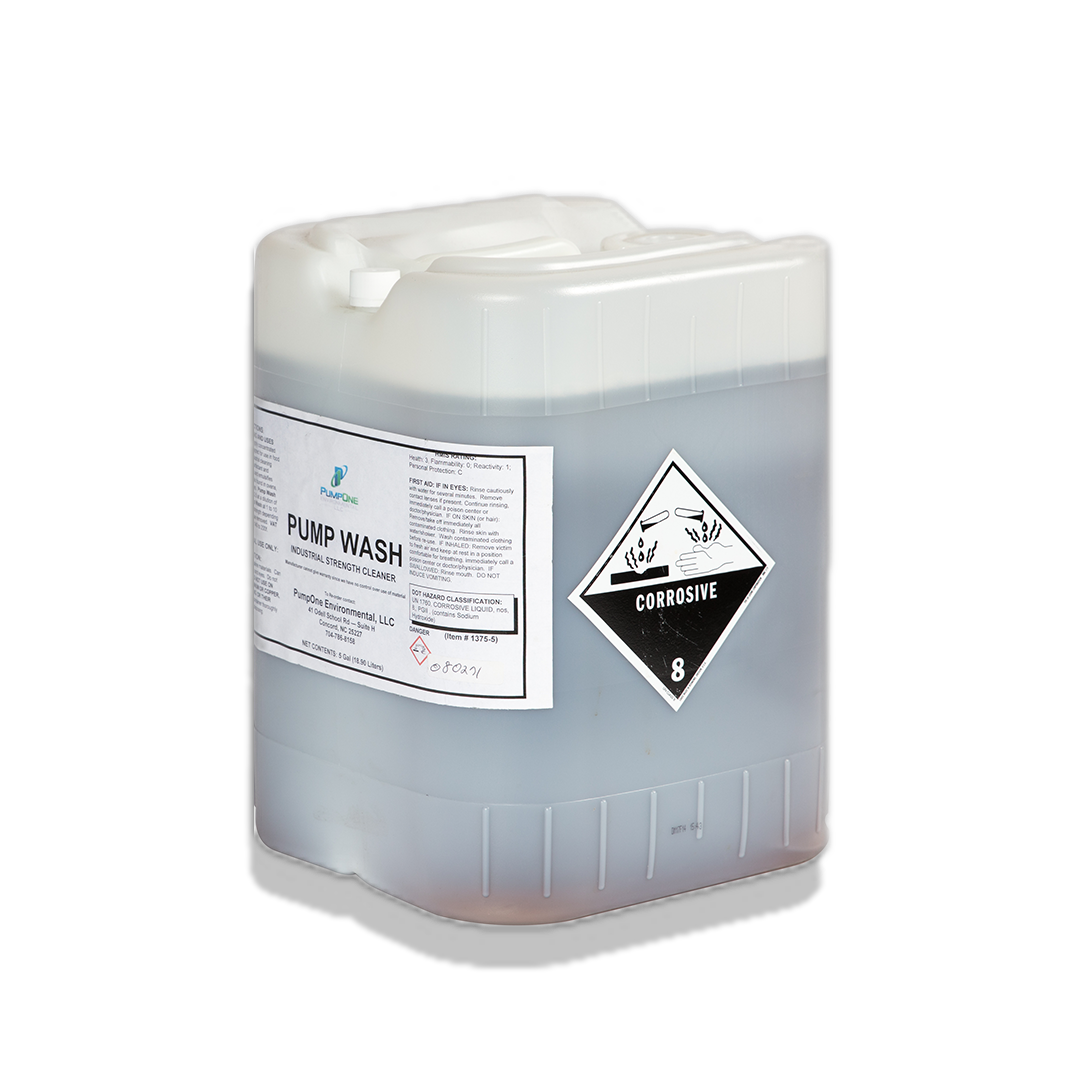
PumpOne Pump Wash
A completely biodegradable substance designed to remove the dried-on debris without harming the pump, components, or environment. Included with the PumpOne Field Test Station.
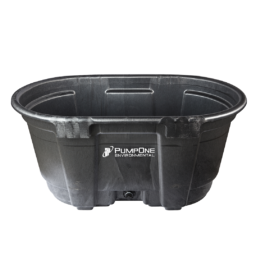
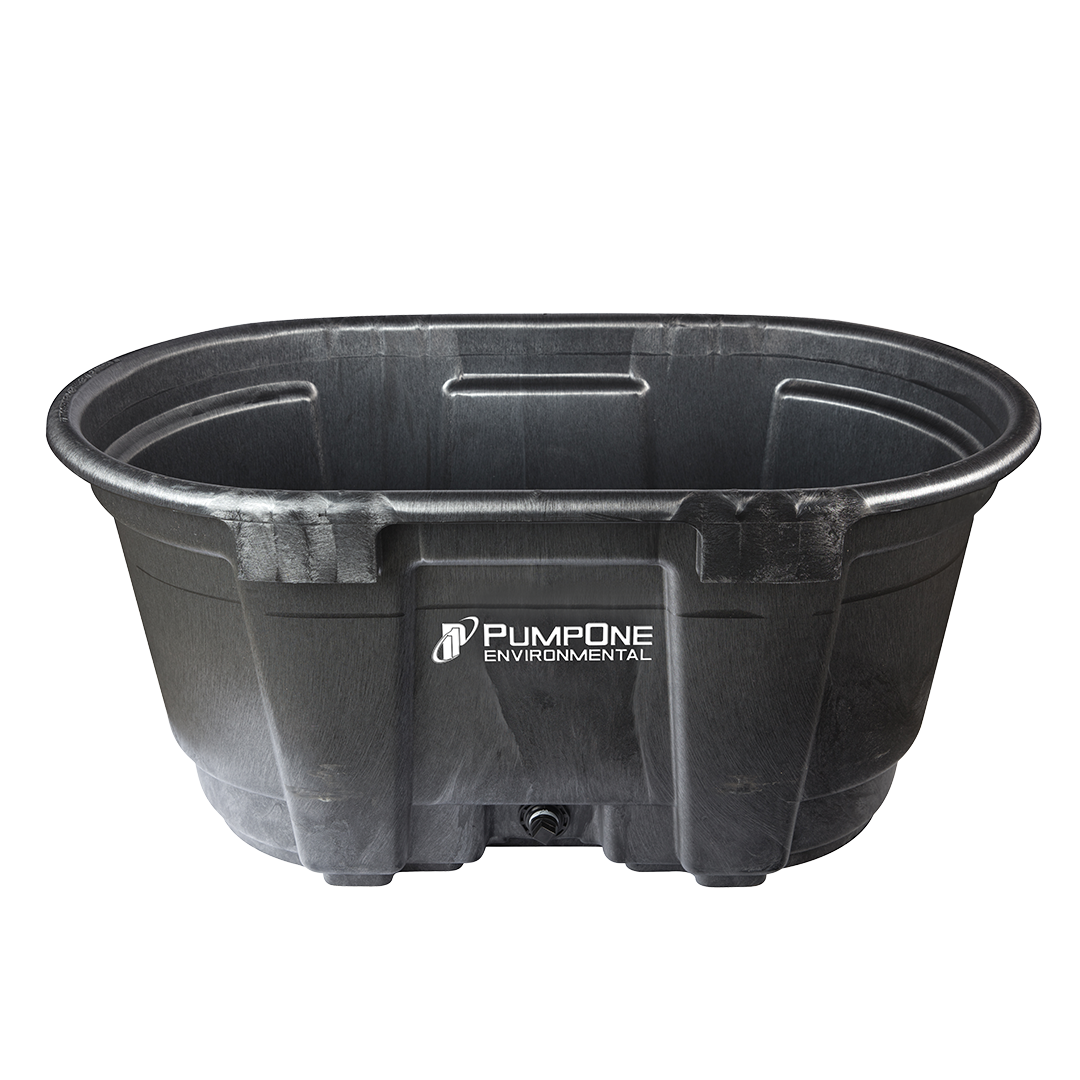
PumpOne Soaking Vat
Safely soak the pump overnight in the soaking tank, reducing the amount of time spent on cleaning the pumps on site. Included with the PumpOne Field Test Station.
Test Stand Safety & General Operation
- Wear eye/hand protection.
- Fill water tanks to or less than the point at which free flow into a tube will not overflow.
Magnet Adjustments
- Place the pump without its casing in the tube.
- Submerge float completely, and then raise the pump.
- Lower pump into the water until the float is in the middle of the travel. Confirm the marked neutral buoyancy point.
- Lower in to the water until it nears the up trip point.
- Adjust the upper magnet until the water is a the mark when the valves trip.
- Repeat the adjustment procedure by raising the pump out of the water for the lower trip point and the other magnet.
Water Line Air Purge & Low Pressure Cycling
- Install the casing and the bottom check valve, without its screen, on the pump.
- Close the valve below the water meter
- Set air supply pressure to zero
- Lower the pump into the tube.
- Open the 2 valves near the right edge of the stand
- Set the air pressure to 15 psi.
- Very gradually open meter valve a little bit. This is to purge air from the line and to prevent damage to the water meter.
- Gradually open the water meter valve completely and confirm that the pump is running normally.
Slow Discharge
- Set the air pressure to 100 psi.
- Throttle the water meter valve so that is takes about 20 seconds for the water to discharge on each cycle.
- Confirm that the exhaust valve opens quickly and without a stutter and that the pump does not stall.
- Open the water meter valve.
Slow Fill
- Set the air pressure at 100 psi.
- Open all the valves.
- Throttle the lowest valve so that it takes 30 seconds or longer for the pump to fill after it has discharged water.
- Confirm that the air-in valve opens quickly without stuttering and that the pump does not stall.
Bubble Leak Test
- Set the air pressure at 80 psi.
- Ensure that the pump has at least 3 inches of water above its head.
- Close the water meter valve.
- Check the inside of the pipe to confirm that no significant bubbles stream from anywhere on the pump.
Water Leak Test
- Set the air pressure at 80 psi.
- Cycle the pump.
- Close the water meter valve immediately when the pump begins to discharge.
- Lift the pump out of the tube.
- Confirm that no significant water leak occurs from the bottom end of the casing.
- Confirm that at most only a few drops leak from the bottom check valve screws, and that any leak near the shuttle is not large.
Remove the Pump
- While the pump is out of the pipe, following the Water Leak Test, open the water meter valve. This will remove some of the water from the pump.
- After the water has discharged from the pump, close the water meter valve.
- Set the air pressure at zero, and turn off the air valve. This is very important to insure that there is no compressed air in the lines, as any air pressure could result in injury.
- Disconnect the air and exhaust lines.
- Disconnect the water line and place the end in the tube. This will reduce spillage.
- Install the bottom check valve screen on the pump.
Cleaning the Test Station
- Unhook the cam-lock at the end of the hose coming from the PVC Tee to allow the pipe to drain.
- Unhook the cam-lock at the back of the test station, coming from the holding tank.
- Open the valve under the holding tank to allow it to drain.
- If the float test pipe needs to be cleaned, unscrew the plug to allow it to drain.
- Use a water hose to spray debris and dirt from the pipe and holding tank.


